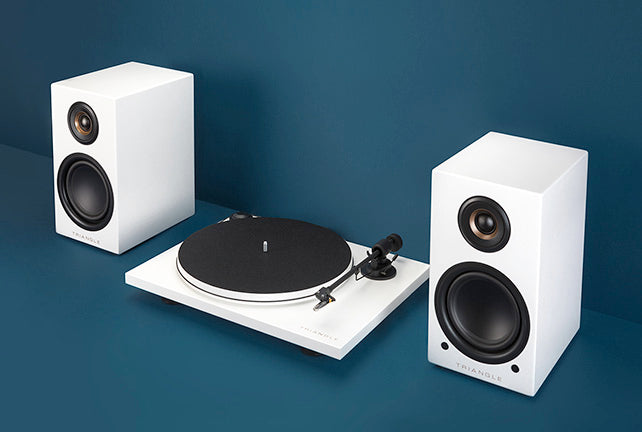

[Guide] Triangle turntable installation
How to install the LUNAR 1 board ?
Installing a turntable can often be perceived as difficult or even complex. You'll discover from the tips below that Triangle has done everything possible to simplify this stage.

# 1- Mounting
When unpacking, it is important to handle the board and its components with care.
- Install the belt
First, you need to fit the belt that drives the chainring.
- Place the central tray and the felt
Next, you'll need to set up the platter that supports your vinyl records, and cover it with the felt provided. In addition to protecting your 33 and 45 rpm LPs and the platter from scratches, this thin layer of fabric will help reduce vibrations that can impair the quality of your listening.
- Remove cell protection
Next, you'll need to remove the plastic cap from the cell. The purpose of this protection is to prevent dust from settling on the diamond, which could adversely affect your listening experience. We strongly recommend that you replace it at the end of each listening session.
- Adjust arm
The arm is adjusted at the factory by a Pro-ject technician. This ensures that your product is calibrated right out of the box, and saves you a lot of time.
- Position cover
Finally, all you need to do is fit the cover onto the metal brackets at the rear of the turntable. This is designed to protect your equipment from dust and children's hands. Also, when listening to your vinyl records, be sure to leave the cover open to avoid a resonance effect that could disturb the listening experience.
Your turntable is now ready to be connected to your Hi-Fi system.
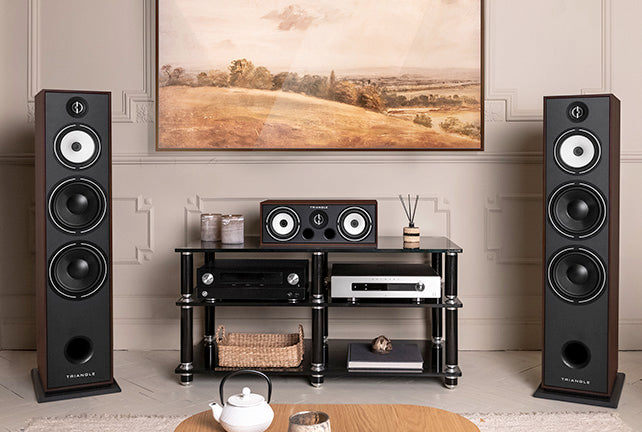
#2- Connections
- RCA cable with ground fork
Next, connect the turntable to your Hi-Fi system using the one-meter-long RCA cable crimped to the rear of the base. When connecting, be sure to match the colors of the cables to those of the inputs on your amplifier. This will ensure that your recording remains in stereo.
You will also need to attach the fork on the cable to your amplifier's ground terminal.
- Power cable
First, you'll need to connect your turntable's mains supply using the supplied adapter. Choose one of the available adapters to fit your electrical outlet and attach it to the transformer. Then connect the other end of the cable to the dedicated slot on the rear of the turntable.
Regardless of the voltage used on your electrical network, the board is compatible with.
- Selector position on speakers Triangle
On Triangle powered loudspeakers, you'll need to activate the phono pre-amplifier by setting the selector near the RCA input to PHONO. With the selector set to Line, the sound will be too weak and your listening experience will be poor.
#3- Getting started
Once your turntable has been assembled and wired, all that's left to do is turn it on by placing your vinyl in the center of the platter and following the steps below.
- Start engine
On the left-hand side of your turntable's base, you'll find a switch to start the motor. You can directly select the desired playback speed by choosing the appropriate switch position.
- Position and lower the arm
The last step before enjoying your music is to place the turntable arm over the beginning of your vinyl. To lower the arm gently, use the lever near its base. Once you want to stop listening to your music, you'll need to raise the turntable arm using the same lever.
Now you have all the information you need to make the most of your turntable and rediscover the undisputed charm of your favorite vinyl records thanks to the vinyl turntable.
#4- After listening
This turntable is entirely manual, so once you've finished listening, you'll need to lift the arm using the lever and replace it in the armrest.
To finish, simply switch off the turntable motor, replace the cell cover and close the lid.
#5- Maintenance
Maintenance is also essential to guarantee optimum listening quality and longevity for both your turntable's cell and your vinyl records. We therefore recommend the use of dedicated cleaning kits for these components, so you can enjoy your favorite records and your turntable.
![[Guide] Compatibilité de la platine vinyle TRIANGLE](http://www.trianglehifi.fr/cdn/shop/articles/woman-sits-on-floor-looking-at-records_1200x_d7e8e668-00cf-46e0-a629-1e05fbf573eb.webp?v=1696850032&width=1200)